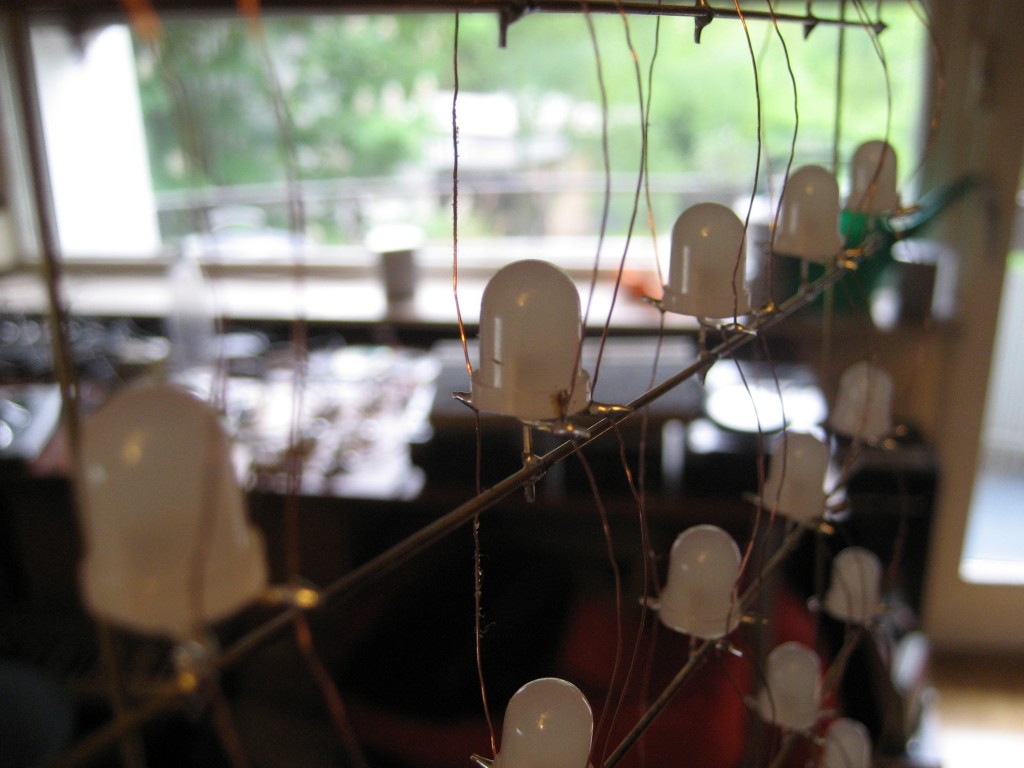
With having finished converting the rows to planes I could start creating interconnections between the free pins of the LEDs. To do this, I used the bare copper wire, Ted sent me. Unfortunatly he sent me only enough wire to finish one plane before running out. So I went to my local electronics store the day before yesterday, to buy some more wire. But when I arrived there I was like: “WTF? They don’t sell bare copper wire? They only sell the insulated one?” I thought: “Well, looks like I have to try it with insulated wire then.”. So I bought it anyway and went back home. And guess what?! … it works pretty well. The downside is, that I have to hold the soldering iron a bit longer to the pins than usual to burn away the insulation but on the upside I don’t have to worry about short circuiting the LEDs if the wire, which is connected to the cathode pins, accidently touches the anode.
So let’s get on with it and finish the planes. It will take a bit longer than I previously thought but I will come back to you as soon as I’m finished.
More images will follow.

2 Comments
I think the insulation will disturb the visual effect more than the bare copper wires – except it is transparent
It’s actually enameled copper wire I used, so the insulation is not visible. For the human eye it still looks like bare copper wire.